On this page
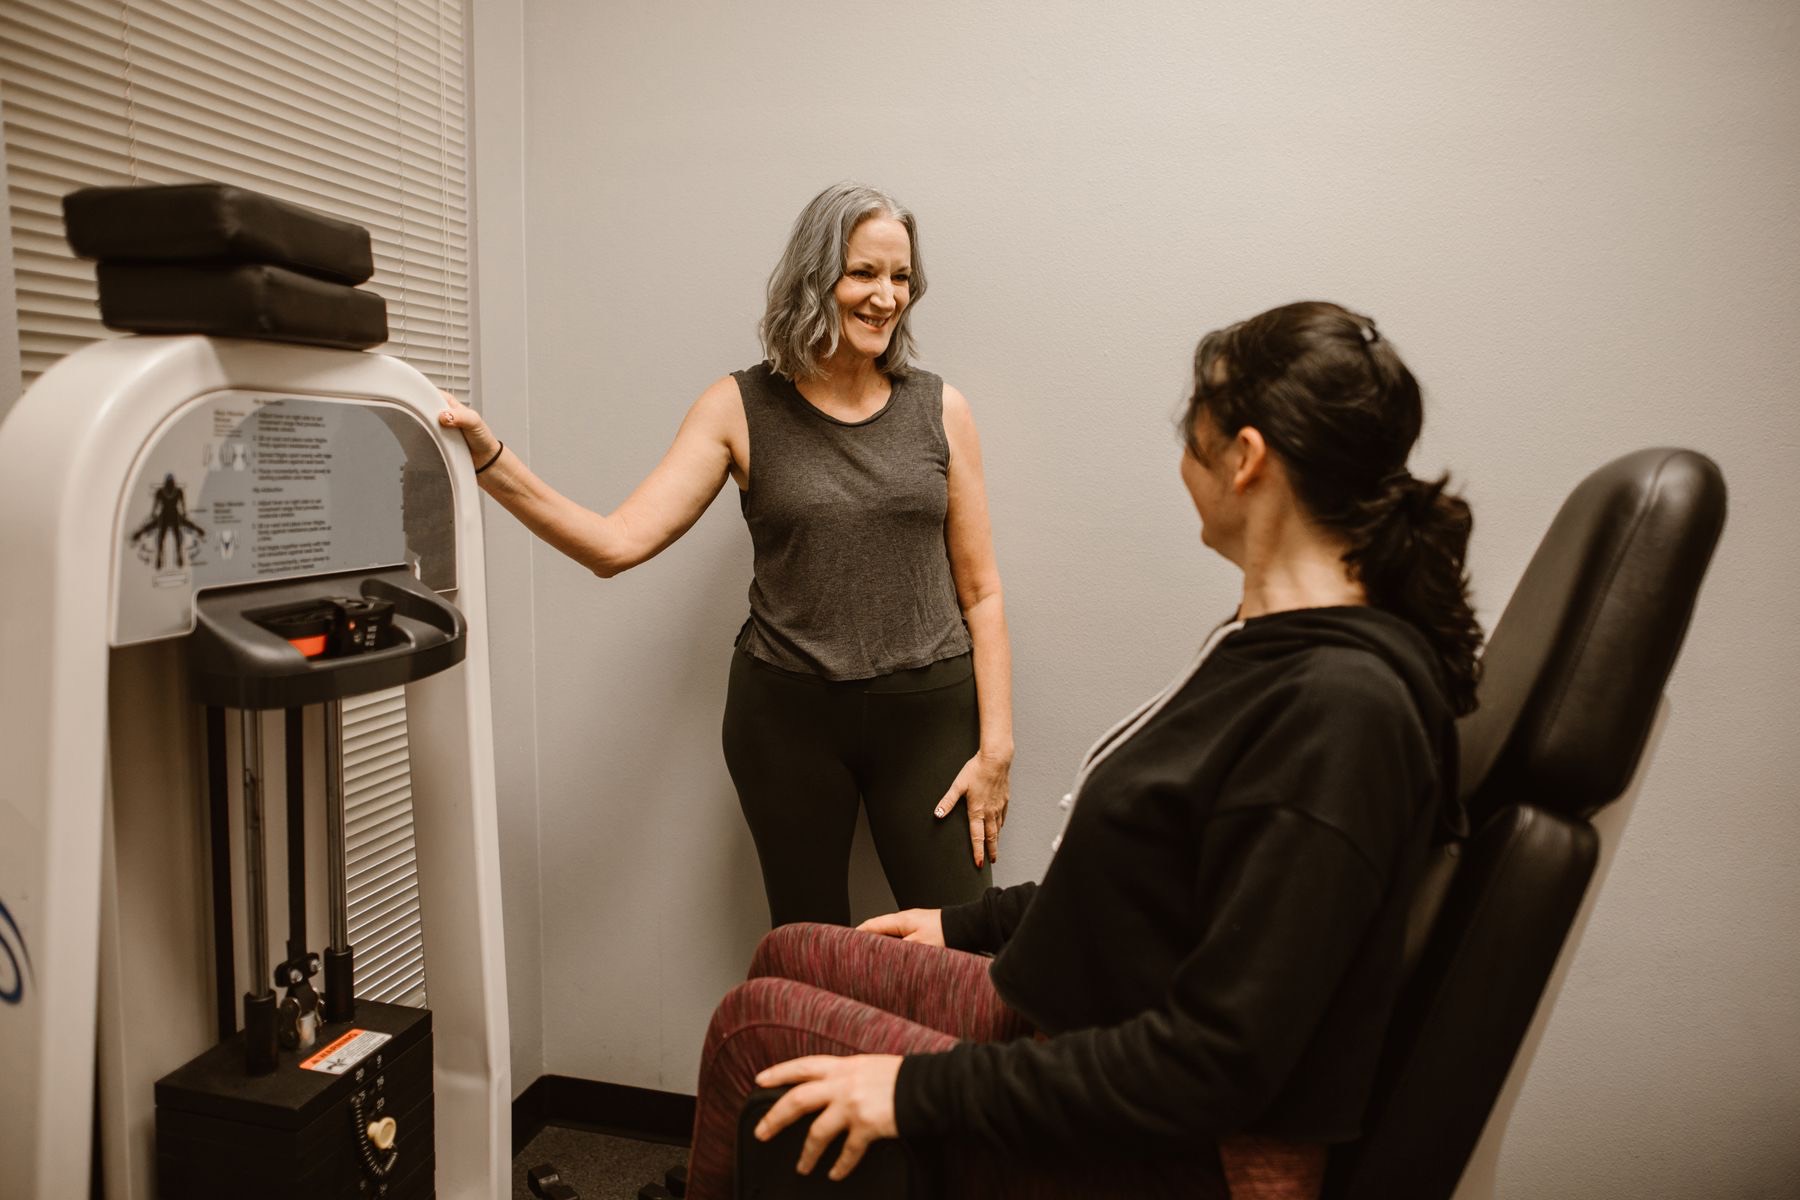
The seated hip abductor machine trains the muscles on the outside of your hip by asking you to push your knees apart against a weight stack. It looks simple, and it is, but three settings decide whether the set lands on your glutes or leaks into momentum and a rocking pelvis. This guide covers each setting, the rep itself, the cues coaches use, and a first session you can run today.
What the abductor machine trains
Hip abduction means moving your thigh away from the midline of your body. On the machine you do it with both legs at once, from a seated position. The prime mover is the gluteus medius, a fan-shaped muscle on the side of your pelvis, helped by the gluteus minimus, the tensor fasciae latae and the upper fibers of the gluteus maximus. In daily life these muscles do their most important work holding your pelvis level every time you stand on one leg, which is every step you take. Our muscles worked guide covers each one in detail.
Many machines are combos that also train adduction, the opposite movement, by swiveling the pads to the inside of the knees. If yours does, the setup below applies to both directions; the adductor machine guide covers the inner-thigh side.
Setup: the five settings that matter
Most machines have the same five adjustment points. Set them in this order, before you sit down to work, and write your numbers down so the next session takes ten seconds.
| # | Setting | How to set it | Why it matters |
|---|---|---|---|
| 1 | Back pad | Most people use the upright or first reclined position. Your lower back should stay in contact with the pad for the whole set. | A stable trunk stops the pelvis rocking, which is how most people cheat extra range. |
| 2 | Start position (range lever) | Set it so the pads touch your knees with your legs close together, but with light tension on the stack before you move. | Too narrow and the first inches feel jammed; too wide and you lose the hardest part of the range. |
| 3 | Thigh pads | On combos, swivel the pads to the outside of the knees for abduction. On machines with adjustable pad height, center them just above the knee joint. | Pads on the knee joint itself can be uncomfortable and shift load to the joint. |
| 4 | Foot pegs or bar | Choose the position that lets your shins hang close to vertical with feet relaxed. | Feet that brace hard tend to turn the movement into a leg push. |
| 5 | Weight stack | Seat the pin fully. On a first session, start at a weight you are sure you can control for 15 reps. | You will calibrate the real working weight in two sets; see how much weight to use. |
The rep, step by step
- Sit all the way back
Slide your hips into the corner of the seat so your lower back touches the back pad. Sitting forward on the edge shortens the lever and lets your pelvis rock.
- Place your knees against the pads
The pads should sit on the outside of your legs, just above the knee joint. Feet go on the pegs or foot bar so your shins hang roughly vertical.
- Grip the handles and brace
Hold the side handles lightly, set your ribs down over your pelvis and take a breath. Your trunk stays still for the whole set.
- Press your knees apart
Exhale and push out through the side of the knees in a smooth arc, taking about two seconds. Keep your feet relaxed; the force comes from the hips.
- Pause at your end range
Hold for a one-count at the widest point you can reach without your pelvis tilting or your back peeling off the pad.
- Return under control
Inhale and let the pads come back over two to three seconds. Stop just before the plates touch, then start the next rep.
Breathing and tempo
Breathe out as you press the pads apart and in as they return. On a light warm-up set you can breathe naturally; on hard sets, a short breath in before the rep and a steady exhale through the press keeps your trunk braced without holding your breath for the whole set.
Coaches write tempo as four numbers. A good default for this machine is 2-1-3-0: two seconds out, a one-second pause at the widest point, three seconds back, no rest at the bottom. The slow return matters because it keeps tension on the muscles through the part of the range where people usually let the stack drop.
| Tempo | What it means | Use it for |
|---|---|---|
| 2-1-3-0 | 2 s out, 1 s pause, 3 s back | Default working sets |
| 1-2-2-0 | Fast out, long squeeze, controlled return | Learning to feel the end range |
| 3-0-3-0 | Slow both ways, no pause | Lighter loads, rehab-style sets with a clinician's guidance |
Coaching cues that work
Pick one cue per set. Trying to think about five things at once usually means doing none of them well.
- DirectionKnees out, not feetDrive through the outside of the knee. Feet just ride along.
- TrunkHips heavy, ribs downStay glued to the seat and pad so the pelvis cannot rock.
- End rangePause and own itIf you cannot hold the widest point for a second, the weight is too heavy.
- ReturnQuiet stackNo clanking. The plates should never rest between reps.
- SpeedSmooth, not snappyA jerk at the start is momentum doing the work your hips should.
- FocusFeel the side pocketYou should feel the burn high on the side of the hip, not in the lower back.
How far should you open?
Open as far as you can while your pelvis stays still and your lower back stays on the pad. For most people that means each thigh moves outward somewhere around 30 to 45 degrees from the start; normal hip abduction range in clinical references is often given as about 45 degrees, and the machine's start position takes up some of that. Range you can only reach by leaning, twisting or bouncing does not count. If you feel pinching at the front of the hip at end range, stop a little short of it and make the start position slightly wider.
Sets, reps and weight
For most goals, two to four hard sets of 10 to 20 reps, twice a week, is plenty for a small, fatigue-resistant muscle group like the hip abductors. This is consistent with general resistance training guidance to train each muscle group at least twice a week.
| Goal | Sets x reps | Effort | Rest |
|---|---|---|---|
| Hip stability and general strength | 2-3 x 12-15 | Stop 2-3 reps short of failure | 60-90 s |
| Glute muscle growth | 3-4 x 10-20 | Finish 0-2 reps short of failure | 60-120 s |
| Muscular endurance | 2-3 x 20-30 | Steady burn, clean reps | 45-60 s |
| Returning from injury | As prescribed | Pain-free range only | As prescribed |
To find your number, read how much weight to use. For full programs, see abductor machine workouts.
Your first session
- Warm up for five minutes
Easy cardio, then 10 bodyweight side-lying leg raises per side or a set of banded walks.
- Set the machine and log the settings
Back pad, start position and pad position. Take a photo of the levers if that helps.
- Calibration set 1
15 reps at a light weight using the 2-1-3-0 tempo. Rate how many more clean reps you had left.
- Calibration set 2
Adjust the pin so you would have 2 to 3 reps left after 12 to 15. That is your working weight.
- Two working sets
Same weight, 12 to 15 reps, 90 seconds rest. Write down weight and reps.
Switching a combo to adduction
On a combo machine, swivel the pads to the inside of the knees (or flip the direction lever, depending on brand) and reset the start position before you sit down. Start adduction with the legs only moderately apart; a very wide start stretches the adductors under load, which is where groin strains happen. Use a lighter weight than you think for the first sessions. Full detail is in the adductor machine guide.
Safety notes
- Pain is a stop sign. Mild muscle burn on the side of the hip is normal; sharp pain in the groin, front of the hip or lower back is not.
- If you have had a hip replacement or hip surgery, ask your surgeon or physical therapist before using either machine. Some post-operative precautions limit moving the leg across the midline or into certain positions.
- Never let the stack slam. Besides wear on the machine, it means you lost control of the hardest part of the rep.
- Keep fingers clear of the stack and pivot points when changing the pin or the start position.
Frequently asked questions
Should I lean forward on the abductor machine?
You can, as a deliberate variation. Leaning forward from the hips changes your hip angle and many coaches use it to bias the glutes. Peer-reviewed data on trunk lean on this machine is limited, so treat it as a useful option rather than a requirement. See techniques and variations.
How many reps should I do on the abductor machine?
Ten to twenty reps per set suits most people, for two to four sets. The hip abductors tolerate higher reps well, and moderate loads make it easier to keep the pelvis still.
Why do I feel the abductor machine in my lower back?
Usually because the pelvis is rocking to create extra range or the weight is too heavy. Sit all the way back, keep the back pad in contact, reduce the load and stop at the range you can hold.
Is the abductor machine good for beginners?
Yes. It has a fixed path, a simple setup and small loading jumps on most stacks, which makes it one of the easier machines to learn. Use the first-session plan above.
How often should I use the abductor machine?
Two sessions a week works for most goals. If you also train heavy squats, lunges or single-leg work, one or two machine sessions is often enough.
Sources
- Centers for Disease Control and Prevention. Adult activity: an overview (muscle-strengthening activities on 2 or more days a week). www.cdc.gov
- DiStefano LJ et al. Gluteal muscle activation during common therapeutic exercises. J Orthop Sports Phys Ther. 2009;39(7):532-540. pubmed.ncbi.nlm.nih.gov
- Delp SL et al. Variation of rotation moment arms with hip flexion. J Biomech. 1999;32(5):493-501. pubmed.ncbi.nlm.nih.gov